

What file type should I upload for stickers?
Easy answer (without sounding obnoxious hopefully) – The best file type depends on what you designed.
And to hastily explain before we cause any irritation, what we mean is simply, different formats are suitable for different artwork, and even output. In a world where we get assisted by smart tech, sometimes the old-school differences are nudged. Short example, a pdf file. Most people assume it will be good for print due to its filename but it can actually package very lowres quality so the fileformat in itself is not a guarantee.
But in short – Use a vector file for logos, typography and clean line art. Use a high-resolution PNG for Procreate artwork, painted illustrations and anything that needs a transparent background. JPG and TIFF work well for image-based designs. A PDF can be excellent, but only if the artwork inside it is excellent too.
The Pretty Good Stickers editor currently accepts PNG, JPG, TIFF, AI, PDF and EPS.
The letters at the end of the filename matter less than people think. A clean PNG exported directly from your original artwork will print better than a PDF containing a tiny image copied from a website.
Print is less forgiving than a screen. It has no chill, no sympathy, and no idea what you meant.
Start with the cleanest original
Before choosing an export setting, find the version of the artwork closest to where it was created.
That usually means:
- The original Illustrator file rather than a logo downloaded from your website.
- A full-size Procreate export rather than an image saved from Instagram.
- The original photograph rather than a copy sent through a chat app.
- The actual artwork rather than a screenshot of it.
Every time an image is resized, compressed, copied or downloaded from somewhere else, there is a chance that useful detail disappears.
Changing the filename does not bring that detail back. Renaming small-logo.jpg to small-logo.pdf gives the same small image a more serious coat. It does not make it print-ready.
Use vector files for logos, text and clean shapes
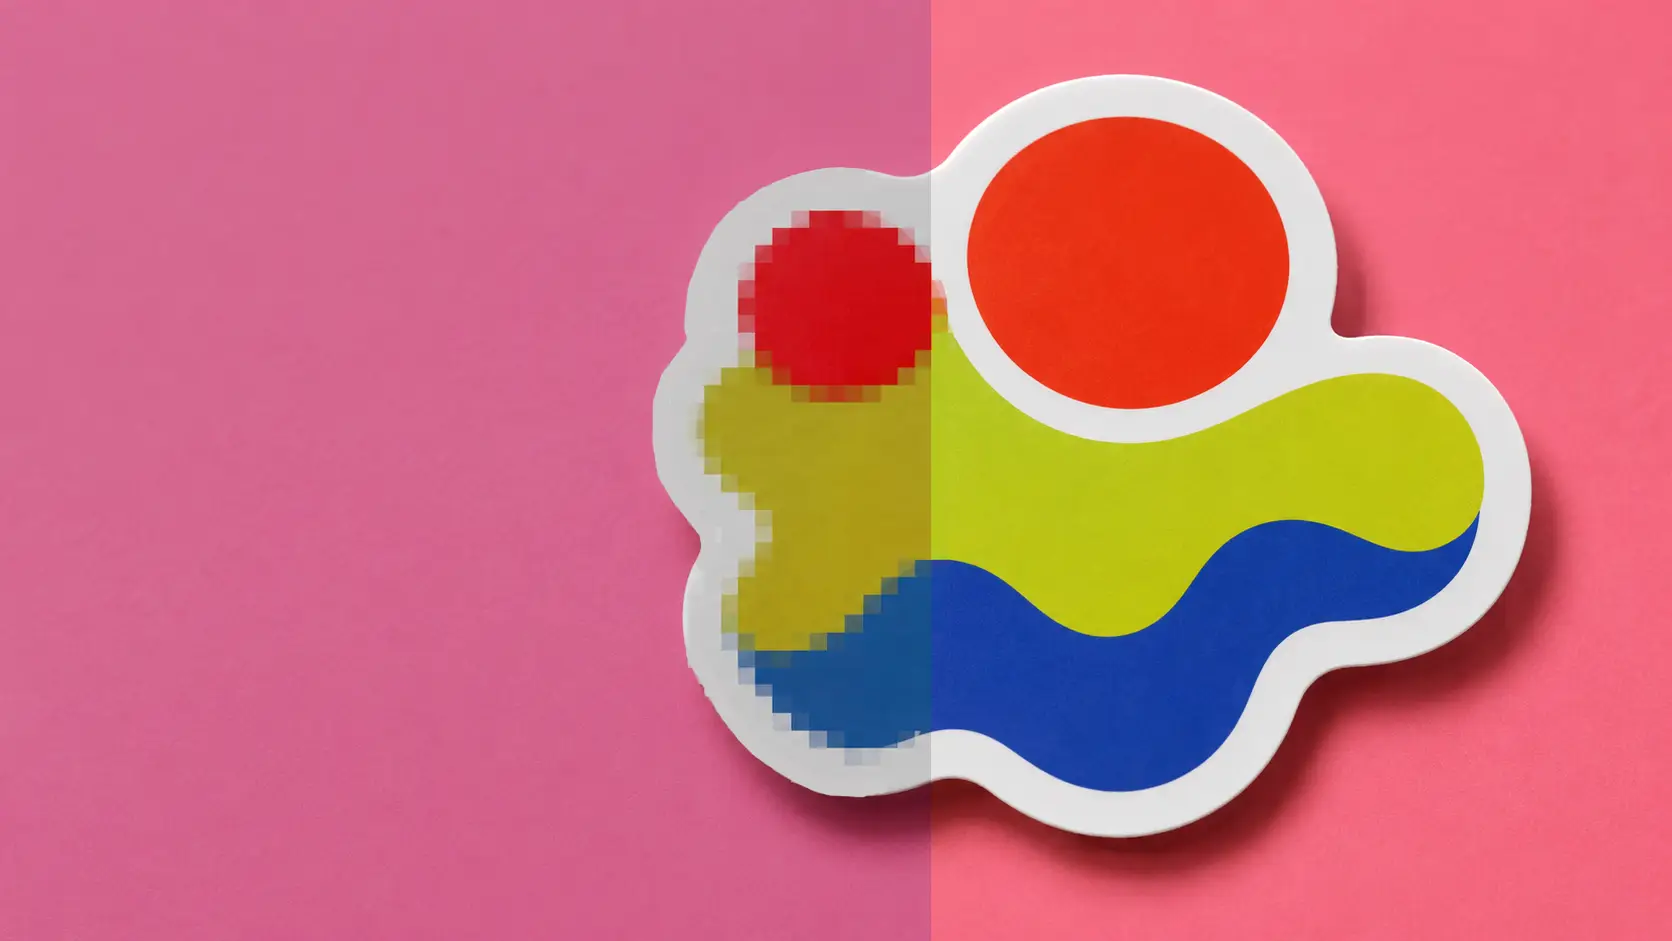
Vector artwork is built from paths and shapes rather than a fixed grid of pixels. Those paths can be resized without the edges becoming soft or blocky.
Vector is usually the best choice for:
- Logos and wordmarks
- Typography
- Icons and symbols
- Badges
- Flat illustrations
- Clean line art
AI and EPS files commonly contain vector artwork. PDFs can also preserve vector shapes, depending on how they were created.
Vector is not automatically better for everything. A photograph, digital painting or textured Procreate illustration is naturally made from pixels. Turning that artwork into a vector file rarely improves it and can remove the detail that made it interesting in the first place.
Have an SVG file? The PGS editor does not currently list SVG as an accepted upload format, so export it as an AI, EPS or vector PDF first.
Use PNG, JPG or TIFF for image-based artwork
PNG, JPG and TIFF are raster formats. Raster artwork is made from pixels, which makes it the right format for:
- Procreate drawings
- Digital paintings
- Scanned artwork
- Photographs
- Shading, gradients and grain
- Detailed or textured illustration
The important difference between the formats is not that one is always more professional. It is what each format preserves.
PNG
PNG is usually the safest choice for digital artwork. It supports transparent backgrounds and handles sharp edges well, making it useful for illustrated stickers with a custom shape.
Use PNG when:
- The background needs to be transparent.
- The design combines texture with clean edges.
- You are exporting from Procreate.
- You want a high-quality flattened version of the artwork.
JPG
JPG works well for photographs and artwork that fills the entire sticker.
The format uses compression to reduce file size. A high-quality JPG can print well, but repeated saving and heavy compression can soften detail and create visible artifacts around text or sharp outlines.
JPG also cannot contain transparency. If the file has a white background, the white background is part of the image.
TIFF
TIFF is commonly used for high-quality raster artwork and photography. It can preserve plenty of detail, but the files are often much larger.
A TIFF is not automatically sharper than a PNG. The resolution and quality of the artwork inside the file still decide what reaches the printer.
Resolution matters at the size you order
Raster artwork needs enough pixels for the physical size of the sticker.
Aim for 300 pixels per inch at the final print size, often written as 300 ppi or 300 dpi. The important words are at the final size.
Here is what that means in practice:
| Final sticker width | Approximate width at 300 ppi |
|---|---|
| 3 cm | 354 pixels |
| 5 cm | 591 pixels |
| 7 cm | 827 pixels |
| 10 cm | 1,181 pixels |
| 15 cm | 1,772 pixels |
A 600-pixel image may be perfectly suitable for a sticker around 5 cm wide. Stretch the same image to 15 cm and the printer has to enlarge every pixel, which makes the result look soft or blocky.
Changing the resolution setting from 72 to 300 does not create new detail. It only changes how the existing pixels are described. Start with the largest clean original you have rather than enlarging a small export and hoping the numbers will fix it.
Read Why does my sticker look blurry? for a closer look at resolution, screenshots, compression and upscaling. The current PGS guidance likewise recommends checking raster artwork at 300 dpi at the final print size.
Transparency has to be real
A transparent background allows the sticker shape to follow the artwork rather than including a solid rectangle around it.
PNG supports transparency. JPG does not.
To check your file, place it over a dark background. If a white rectangle appears around the design, that white area is inside the file. It will not disappear simply because the artwork is being printed as a custom-shaped sticker.
A checkerboard behind the artwork in your design program normally represents transparency, but the export format must preserve it. Exporting the same artwork as a JPG will replace that transparent area with a solid background.
For raster artwork with a custom silhouette, a transparent PNG is usually the simplest option.
A PDF is only as good as what it contains
A PDF is a container. It can contain:
- Fully vector artwork
- High-resolution raster artwork
- Text and embedded fonts
- A mixture of vector and raster elements
- A tiny screenshot placed on a large page
This is why “send a PDF” is incomplete advice.
A PDF exported from Illustrator with the original vector paths intact can be an excellent print file. A low-resolution JPG saved inside a PDF remains a low-resolution JPG.
If the design includes text, either outline the fonts or make sure they are properly embedded when exporting. Outlining converts the letters into shapes, preventing the typography from changing if the original font is unavailable during processing.
Screen color and printed color are different things
A screen creates color with light. A printed sticker creates color with ink.
That difference matters most with extremely bright blues, greens, pinks and neon-like colors. A screen can display colors that physical ink cannot reproduce in exactly the same way, so the printed result may appear less luminous than it did on your phone or monitor.
That does not mean every RGB file will print badly. Most artwork translates without drama. It means a digital screen should not be treated as a precise physical color reference.
Avoid judging an exact brand color from a phone screenshot. When color matching is critical, contact support before ordering so the expectation can be checked properly. The digital proof is useful for shape, size, border and artwork placement, but it cannot show exactly how ink, vinyl and the chosen finish will look under real light.
The colour shift nobody warns you about
Screens make colour with light: red, green, blue. Printers make it with ink: cyan, magenta, yellow, black.
Your screen can throw a glowing neon green that ink physically cannot mix. When that RGB green gets translated to CMYK ink for print, it lands duller and flatter than your monitor showed. This is not a file problem and no format fixes it. If your software lets you work in CMYK, design in CMYK and you’ll see the real colour from the start. If you’re in something RGB-only like Canva, just expect the brightest colours to calm down a little in print.
A simple export guide
These are reliable starting points rather than rules carved into vinyl.
Procreate: Export a large PNG. Preserve transparency when the sticker should follow the shape of the artwork.
Illustrator or another vector program: Upload the original AI or EPS file, or export a vector PDF. Outline or embed the fonts.
Canva: Use a large PNG for image-based artwork or transparency. A print-quality PDF is often the better choice for designs built mostly from typography and clean shapes. Check the exported file rather than assuming every element stayed vector.
Photoshop or another raster editor: Use PNG or TIFF for high-quality artwork. A high-quality JPG is also suitable for photography and designs with a full background.
Photography: Use the full-resolution original. Avoid copies downloaded from social media, websites or messaging apps.
SVG: Export it as AI, EPS or PDF before uploading to PGS.
What the editor can and cannot do
The PGS editor traces your uploaded artwork to create the intended cut line. You can then review the size, shape, border and placement before approving the design.
The editor can help you control the sticker. It cannot recreate information that is missing from the file.
It cannot make a small screenshot genuinely sharp, restore detail removed by JPG compression or guess that a white background was supposed to be transparent.
Before approving, check:
- The overall sticker size
- The intended cut line
- The amount and color of the border
- Whether the background is transparent or solid
- Small text and fine details
- Whether the artwork still looks clean at the chosen size
The proof should confirm the geometry of the sticker. It should not be treated as a guarantee that a physical print will look identical to a backlit screen.
What we recommend
Use AI, EPS or a vector PDF for logos, typography and clean graphics.
Use a high-resolution PNG for Procreate artwork, painted illustrations and designs needing transparency.
Use a full-resolution JPG or TIFF for photographs and image-based artwork without transparency.
Whatever the format, upload the cleanest original available and make sure raster artwork has enough pixels for the final sticker size.
Then check the proof before approving it.
Your file is probably fine. It is still cheaper to spend thirty seconds checking than to discover afterward that the tiny white rectangle was not, in fact, part of the vision. Also be sure to check out of prep guide here.
FAQ
What is the best file type for sticker printing?
For logos, text and clean line art, use vector artwork such as AI, EPS or a vector PDF. For paintings, photographs and textured digital artwork, use a high-resolution PNG, JPG or TIFF.
Can I upload a PNG for stickers?
Yes. PNG is a strong choice for digital illustration and artwork with a transparent background. Make sure it contains enough pixels for the final print size.
Can I upload a JPG?
Yes. JPG works well for photographs and artwork with a full background. Avoid small or heavily compressed JPG files, particularly when the design contains text or sharp outlines.
Can I upload a PDF?
Yes. A PDF can contain excellent vector artwork, high-resolution images or both. It can also contain a low-resolution image, so the extension alone does not guarantee print quality.
What should I export from Procreate?
Export a large PNG, ideally at the dimensions needed for the final sticker. Keep the background transparent when the sticker should follow the artwork’s silhouette.
Can I upload a file straight from Canva?
Yes. Use Canva’s PDF Print export, or download a PNG at the largest size it offers. Don’t send a Canva share link. The printer needs the actual file, not a view of your editor.
Can I upload an SVG?
Not directly at the moment. Export the SVG as an AI, EPS or vector PDF before uploading it to the PGS editor.
How much resolution does sticker artwork need?
Aim for 300 ppi at the final print size. A 5 cm-wide sticker needs roughly 591 pixels across, while a 10 cm-wide sticker needs roughly 1,181 pixels.
Should sticker artwork be RGB or CMYK?
Screens and printed stickers reproduce color differently, so very bright RGB colors may shift in print. Avoid making a blind conversion using an arbitrary color profile solely because a generic checklist says “CMYK.” When exact brand color matters, contact support before approving the order.
 Staff
Staff