

How to Apply a Sticker Without Bubbles
Bubbles come from the application, not the sticker. Almost all of them come from one habit: laying the whole sticker down at once and pressing from the outside in, which traps air with nowhere to escape. Apply from a single edge or the center and work outward, and most bubbles never form in the first place.
Why bubbles happen at all
A bubble is just trapped air with no exit. When you drop a sticker flat onto a surface and press down from the edges, you seal the perimeter first and push the air toward the middle, where it has nowhere to go. It sits there as a raised pocket.
Everything about clean application is really about giving the air a way out while you work. Do that and the sticker goes down flat. Fight it and you chase bubbles around under the film.
The method that works
Two approaches, depending on the sticker size.
For most stickers, use the center-out method. Peel the backing fully, hold the sticker by its edges so only the middle touches first, set that center point down, then press outward toward the edges with a finger or a flat card. The air moves ahead of your stroke and off the edge instead of getting trapped behind it.
For larger stickers or decals, use the hinge method. Position the sticker where you want it, tape one edge down as a hinge, peel the backing from the hinged side, then lower the sticker slowly onto the surface while pressing along the contact line as it goes down. Slow is the whole point. The contact line pushes air ahead of it the entire way across.
Either way, the principle is identical: one point of contact first, then outward, so the air always has an open edge to escape through.
Surface and speed still matter
A clean, dry surface applies more smoothly, for the same reason it holds better. Dust and grease create tiny high spots that the film bridges over, and each one becomes a small bubble. A quick wipe and a full dry before you start removes most of them. (The peeling guide covers surface prep in full if you want the detail.)
Speed is the other half. Rushing is where bubbles come from, because a fast press seals areas before the air ahead of them has cleared. Going slow with steady pressure lets each section flatten before the next one touches down.
Rescuing bubbles you already have
Most bubbles are fixable after the fact, and you don’t need to peel the whole thing off.
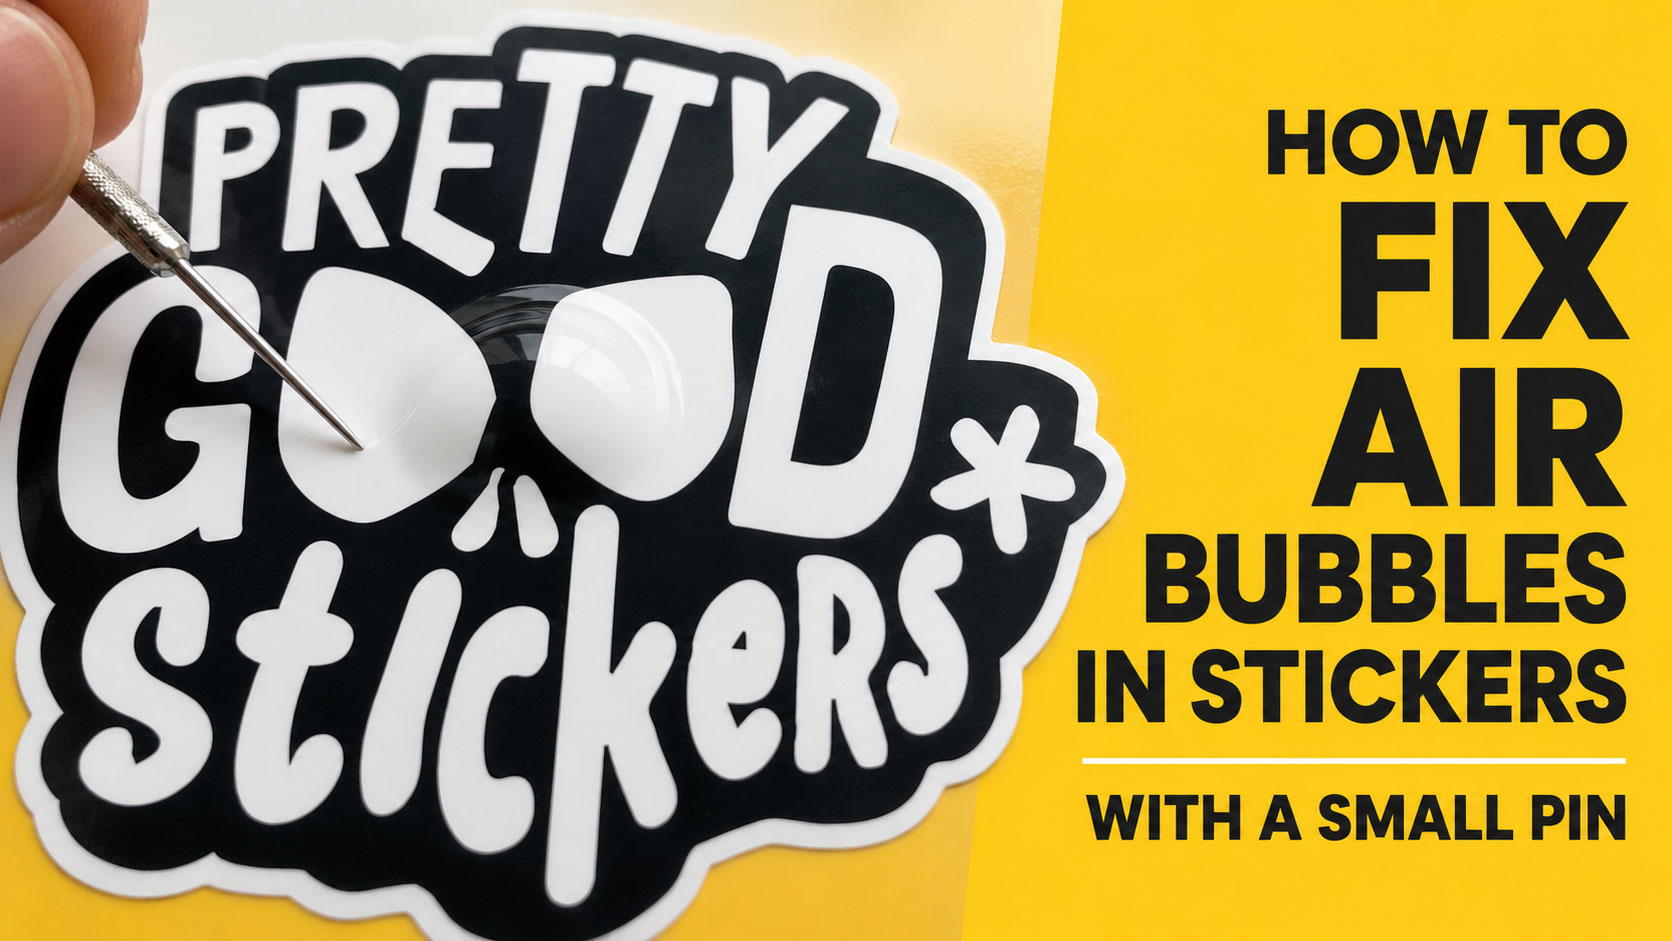
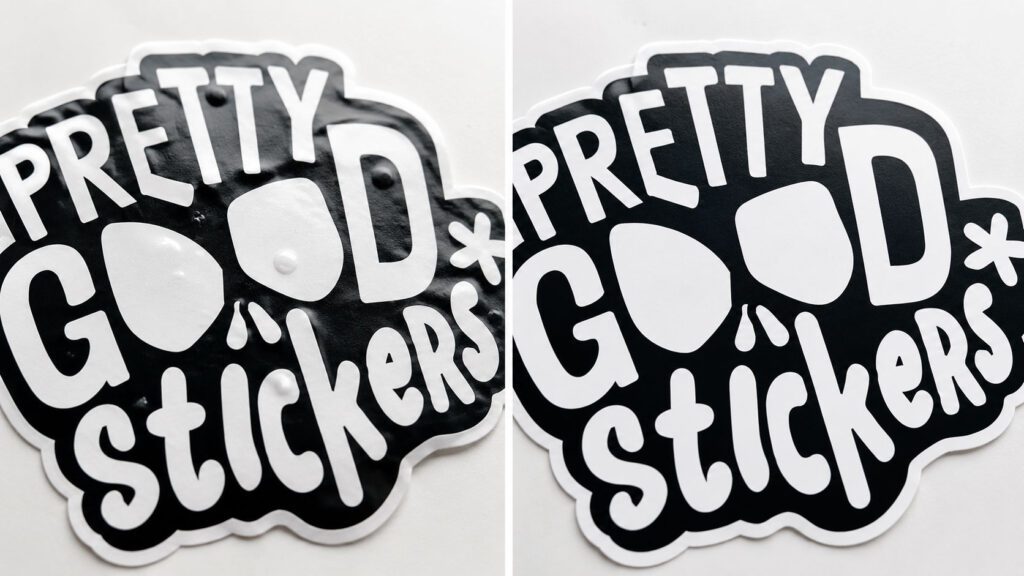
For a small bubble, press it toward the nearest edge with your thumb or a flat card and work the air out the side. If it won’t move because it’s too far from an edge, that’s what the pin trick is for: prick the bubble once with a fine needle or pin, then press the air out through the hole. One small hole in the film disappears against most designs and is far less visible than the bubble was.
For a large bubble or a badly misaligned sticker, lifting a section and re-laying it usually beats fighting it in place. This works best within the first few minutes, before the adhesive has started to set. After that, the same 48-hour bonding window that makes a sticker hold also makes it harder to reposition cleanly, so the earlier you fix it, the easier it goes.
What we recommend
Peel the backing fully, start from one point (center for small stickers, a taped hinge for large ones), and press outward slowly so the air runs off the edge. Clean and dry the surface first so there’s nothing for bubbles to form around. For the ones that slip through, work them to the edge, or use the pin trick if they’re stuck in the middle. Fix any repositioning in the first few minutes while the adhesive is still forgiving.
When to contact support
Reach out if a sticker bubbles or wrinkles even with careful application on a clean, flat surface, or if you’re applying to a curved or compound surface (a bottle, a helmet, a rounded case) and want to know whether the material will conform without lifting. Some shapes need a material with more flex, and that’s better matched before you order.
FAQ
How do I apply a sticker without bubbles?
Start from one point rather than laying it flat. For small stickers, set the center down first and press outward. For large ones, tape one edge as a hinge and lower it slowly. Working outward gives trapped air an open edge to escape through.
How do I get bubbles out of a sticker after applying it?
Press small bubbles toward the nearest edge with a flat card. For bubbles stuck in the middle, prick them once with a fine pin and push the air out through the hole. The hole is nearly invisible on most designs.
Why does my sticker keep getting bubbles?
Usually the sticker is being laid flat and pressed from the outside in, which traps air in the middle. Dust on the surface and applying too fast are the other two common causes.
Can I reposition a sticker after applying it?
Best within the first few minutes, before the adhesive begins to set. After a day or two of bonding, repositioning gets harder and risks tearing the film.
How do I apply a sticker to a curved surface?
Work slowly from the center out and let the material flex as you go. Tight or compound curves need a material with enough flex to conform without lifting at the edges, so check the material suits the shape before ordering.
 Staff
Staff