

How to laminate stickers without a machine
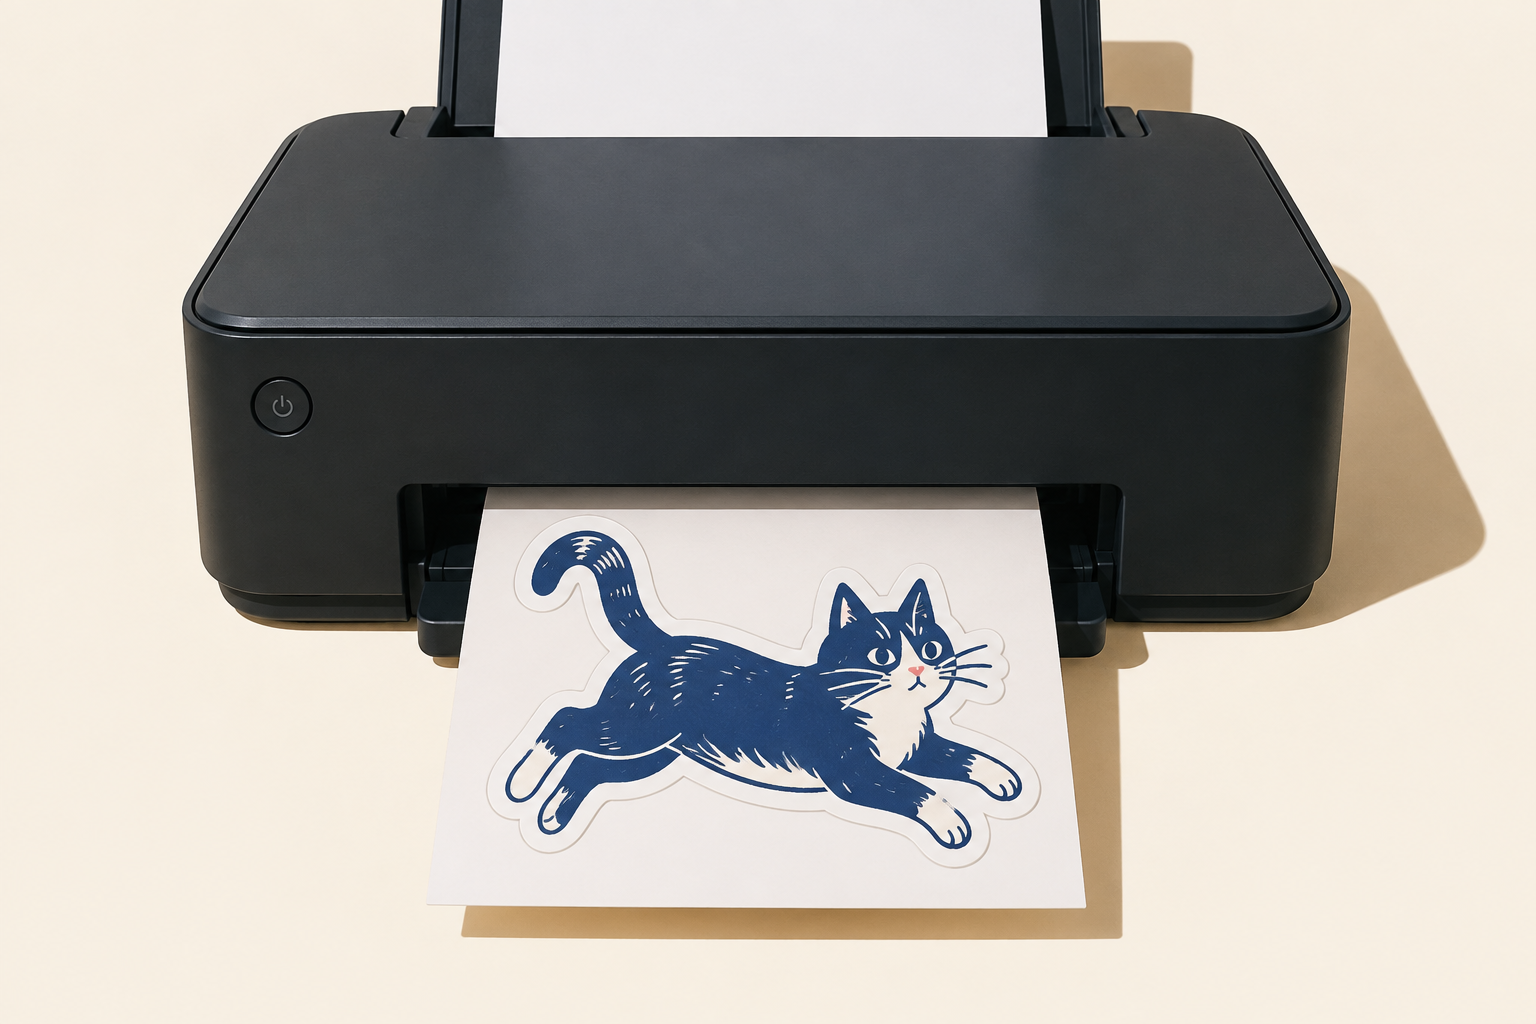
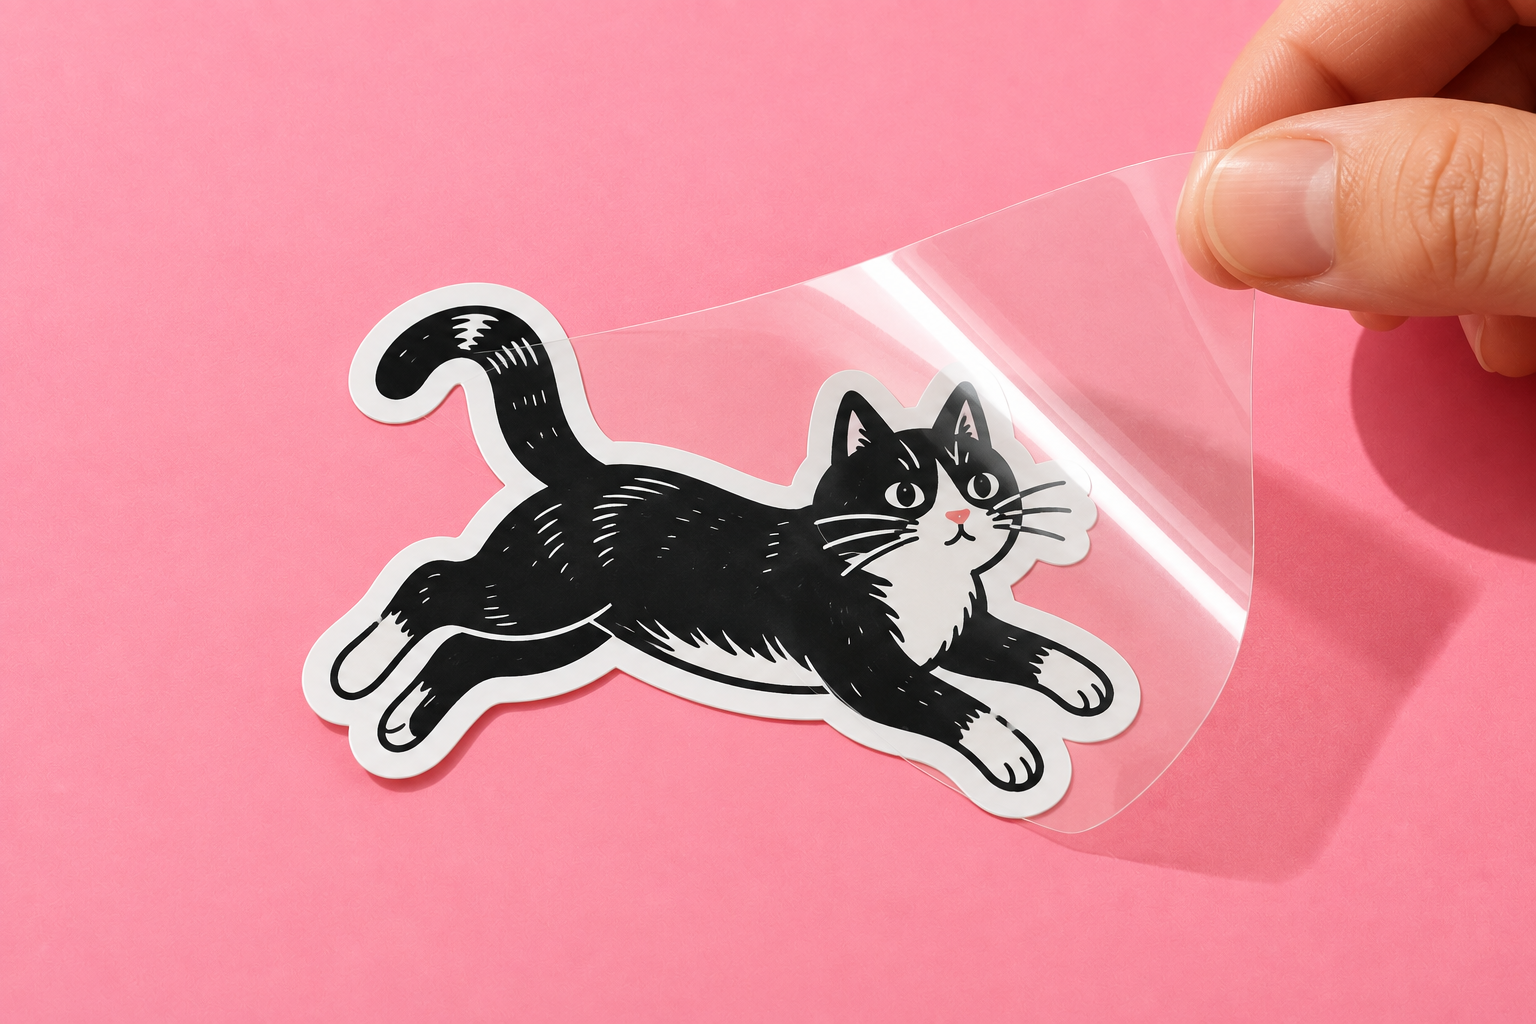
To laminate stickers at home, apply a compatible self-adhesive laminate to the dry printed side of your sticker sheet, smooth it down gradually, then cut out the stickers. Leave the sticker’s backing paper in place throughout. You do not need a heated laminator for this method.
The useful part is controlling how the two sheets meet. Peeling off all the laminate backing at once gives a large sticky sheet far too much freedom.
Choose a laminate that suits your sticker
Look for self-adhesive laminating film intended for printed stickers. Check that it suits your printable paper or vinyl and, if you use one, your cutting machine. A thicker layer also changes what the machine has to cut.
Choose glossy or matte for the surface you want. Lamination does not have to mean shiny. At PrettyGoodStickers, both Premium Glossy and Matte stickers are laminated; the finish is a choice within that process.
A thermal laminating pouch is a different product. It is designed to enclose an item between layers, which is not the same job as putting a protective film over a peelable sticker. Only use a heated method when the sticker stock, laminate and machine instructions support that exact combination. Do not put self-adhesive laminating material through a hot setting unless its instructions explicitly allow it.
For a paper sticker inside a notebook, you may not need laminate at all. Decide what protection the project needs before adding another material and another step.
What you need
- A printed sticker sheet with its backing still attached
- Compatible self-adhesive laminate
- A clean, flat work surface
- A soft-edged scraper or small roller
- Scissors, or a compatible cutting machine
Make one test sheet first. A Canva export, drawing or phone photo can all become a sticker, but laminate will not sharpen a blurry print. If you have not printed yet, the guide to making your own stickers covers the design and printing steps.
How to apply self-adhesive laminate
1. Let the print dry and check the surface
Follow the drying instructions for your ink and sticker stock. There is no universal waiting time. Start with a clean sheet, and keep dust, hairs and loose scraps away from the work area.
Look for printing defects before covering them. If the ink is already smeared, use a fresh print rather than sealing the problem underneath.
2. Plan where the film will sit
With the laminate backing still on, position it over the sheet to check coverage. The film needs to cover every sticker you intend to cut.
If you use a cutting machine, check its instructions for laminated print-and-cut projects first. Glossy or reflective film can interfere with some sensors. Follow the recommended coverage around registration marks; do not assume every machine can read through every laminate.
3. Anchor one edge
Peel back a narrow strip of the laminate’s release liner. Keep the rest covered so it cannot stick before you are ready.
Line up the exposed edge with the printed sheet and press that strip down. Check the alignment before continuing across the page. The sticker backing stays underneath; you are removing the laminate liner, not peeling the stickers.
4. Smooth the film down as you remove the liner
Draw the liner back gradually while moving your soft scraper or roller across the newly exposed section. Keep the application controlled so the film makes contact a little at a time.
Work along the point where film meets print. Do not drop the whole sheet onto the artwork and try to chase the air out afterwards. If the film starts folding onto itself, stop before pressing the fold flat.
5. Inspect the sheet before cutting
Look across it from an angle. Check for folds, trapped specks and areas that have not made contact. Follow the laminate’s instructions for final smoothing and any waiting period before cutting.
Do not assume you can peel permanent film back off without lifting the print or paper. On a first attempt, a flawed test sheet is useful information. It does not need to become twenty flawed stickers.
6. Cut and peel one test sticker
With scissors, cut through the film, sticker and backing together. For machine cutting, use the recommended setting for the finished layered material and make a small test cut before running the whole sheet.
Check the result you actually want: a kiss cut leaves the backing intact, while a cut-through sticker is separated from the sheet. Peel the sample and check that the laminate stays with the printed layer and the shape releases cleanly.
Try it on the intended surface too. A neat result on the worktable does not tell you whether that particular combination behaves well on a curved bottle.
If the first sheet goes wrong
| What you see | What to check or change |
|---|---|
| Bubbles appear as the film goes down | Expose less adhesive at once and smooth each new section as it meets the print. Practise on a small piece before another full sheet. |
| A raised speck stays in the same place | Check for trapped debris rather than treating every bump as air. More pressure will not remove a hair under the film. |
| The laminate has a crease | Do not rely on pressing it harder to restore a smooth finish. Keep the next sheet aligned and prevent the film folding during application. |
| The machine cannot find the print | Check film compatibility, glare and registration marks before changing the cutting pressure. |
| The sticker will not release cleanly | Check that the cut has gone through the intended layers. Test the appropriate setting for the combined material thickness. |
If the laminate separates from the print, check the material pairing, drying and application instructions before making more. A second layer on top does not fix the bond underneath.
Does laminating make stickers waterproof?
Not automatically. Laminate covers the printed face, but the finished sticker still includes its base material, ink, adhesive and cut edges. A clear top layer is not proof that the whole construction can be soaked, washed or left outdoors.
Choose a combination with stated suitability for the intended use. Follow its care instructions: even a sticker described as waterproof may require handwashing. A quick rinse at home cannot establish dishwasher resistance or years of outdoor durability.
How this works when you have stickers printed
For our Premium Glossy and Matte stickers, lamination is part of production: the artwork is printed on vinyl, the protective film is applied, and the stickers are cut to shape. You receive the finished stickers, so there is no extra laminating step at home.
The choice is still based on the job. Our Indoor material is unlaminated for dry, protected uses. More layers are not automatically useful for every project. The materials guide explains the available options.
Doing it yourself makes sense when you enjoy making the whole thing, want to experiment with a few designs or already have suitable supplies. A printing service becomes useful when you want a particular finish, repeated custom shapes, or more finished stickers without printing, laminating and cutting each sheet yourself.
If you need help choosing, describe where the sticker will go and how it will be cleaned. “On a bottle that gets washed by hand” is more useful than “needs to be durable.” That gives us something concrete to help with.
PrettyGoodStickers has no minimum quantity, so having a design printed does not require a large batch. You can keep developing the artwork at home and have one finished version made when you want to check the size and feel. The ordering guide explains the artwork upload and preview.
 Staff
Staff