

How to make your own stickers
There are two honest ways to make your own stickers.
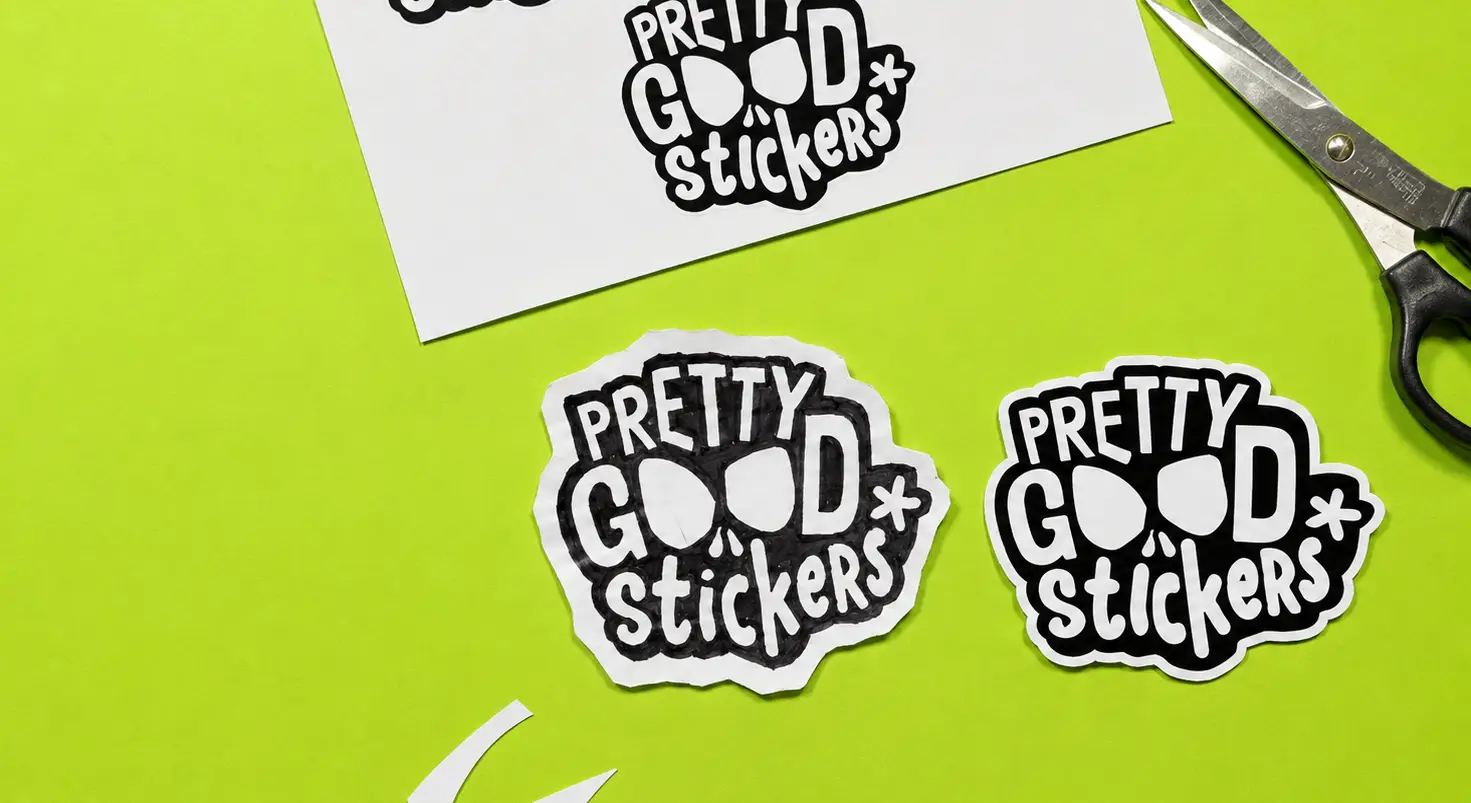
You can make a small batch at home with printable sticker paper, a compatible printer and something to cut with. Or you can upload your artwork and have the stickers professionally printed and cut.
Making stickers at home is useful when you want to test an idea, make a few for a notebook or simply enjoy doing the whole thing yourself. Professional printing makes more sense when you want clean contour cuts, repeatable results, a particular material or more stickers than you are willing to cut out one by one.
Here is how both methods work.
The quick comparison
| Make them at home | Have them professionally printed | |
|---|---|---|
| Best for | Prototypes, crafts and small personal batches | Finished designs, repeatable batches and clean custom shapes |
| What you need | Sticker paper, compatible printer and cutting tool | A suitable digital artwork file |
| Cutting | Scissors, craft knife or cutting machine | Cut as part of production |
| Materials | Limited to what your printer can handle | A wider range of dedicated sticker materials |
| Setup | More work at home | More of the work happens in the ordering flow |
| Result | Intentionally handmade or semi-polished | More consistent across a batch |
| Quantity | Practical while you still feel like cutting them | Practical from one sticker to a much larger run |
The right choice depends on you and your needs and what you want! Then of course some changes perhaps apply depending on what the sticker is for but not how seriously you take the project.
How to make stickers at home
The simplest method uses printable adhesive paper or full-sheet labels.
What you need
- Your artwork
- Printable sticker paper or full-sheet adhesive labels
- An inkjet or laser printer
- Scissors, a craft knife or an electronic cutting machine
- A cutting mat if you are using a knife
- Optional clear self-adhesive laminate
Check that the sticker paper is made for your printer type. Inkjet and laser printers use different heat and ink processes, and not every sheet is compatible with both.
A printer will usually object to being used as a small experimental furnace.
1. Prepare the design at its final size
Create, draw or scan your artwork and decide how large each sticker should be before arranging the page.
Work in centimetres or millimetres rather than judging it only by how large it looks on your screen. A design that fills a laptop display can become surprisingly busy at five centimetres.
For raster artwork, such as a Procreate illustration or photograph, use the largest clean original available. We normally recommend 300 ppi at the final size for a strong print result.
Our guide to sticker file formats explains when to use PNG, JPG, TIFF, AI, PDF or EPS.
2. Arrange several designs on one sheet
Place the designs on an A4 page with enough room to cut around each one.
If you are cutting by hand, simple outer shapes will save time. A smooth circle, oval or broad silhouette is considerably friendlier than twenty-seven tiny spikes and a decorative antenna.
If you want a white border, include it in the design or leave enough space around the artwork when cutting.
3. Print a test on ordinary paper
Before using the adhesive sheet, print the page on ordinary paper.
Check:
- The physical size
- Whether small text is readable
- Whether the design still makes sense when reduced
- Whether anything sits too close to the edge
- Whether the page is printing at 100% rather than being automatically scaled
Cut one design out roughly and hold it against the object it is meant for. This catches more problems than staring at the same export window for another ten minutes.
4. Print on the sticker paper
Load the sheet according to the manufacturer’s instructions and make sure you are printing on the correct side.
Choose a suitable paper or media setting in the print dialogue. A higher-quality print setting may improve image reproduction, but the best option depends on your printer and the stock you are using.
Print one sheet first.
Do not begin with thirty because the preview looked convincing.
5. Let the print dry
Allow the ink to dry before touching, cutting or laminating the sheet.
Drying time varies between printers, inks and materials. Glossy and coated inkjet stocks may need more time than ordinary paper. Follow the instructions supplied with the sticker stock rather than testing dryness with a thumbprint directly through the most important part of the design.
6. Cut the stickers out
Use:
- Scissors for simple shapes
- A craft knife and cutting mat for tighter corners and more controlled contours
- A Cricut, Silhouette or similar cutting machine for repeatable printed cut lines
When cutting by hand, rotate the paper rather than forcing the scissors around every turn. This usually creates a smoother edge.
Leave a small border around complicated artwork. Cutting directly against tiny details is how a five-minute job quietly becomes an evening.
7. Add protection if the project needs it
A clear self-adhesive laminate can help protect the printed surface from scratches and light moisture.
It does not automatically turn ordinary paper sticker stock into an outdoor, dishwasher-safe or waterproof material. The paper, adhesive, ink and laminate all affect the finished result.
For notebooks, folders, cards and other dry indoor uses, ordinary printable sticker paper may be entirely sufficient. For bottles, equipment, outdoor objects or anything handled heavily, test the exact material before committing to a full batch.
Using a Cricut or Silhouette
An electronic cutting machine removes the most obvious handmade limitation: the cutting.
The usual workflow is:
- Import your artwork into the machine’s design software.
- Arrange the designs on a printable sheet.
- Add the required registration marks.
- Print the page using a compatible home printer.
- Place it on the cutting mat.
- Let the machine follow the cut lines.
This is commonly called Print Then Cut or Print & Cut, depending on the manufacturer.
The machine still needs the correct material setting, blade depth and calibration. A cutting machine can follow a contour accurately, but it cannot decide that the contour was a bad idea.
Very thin protruding areas, disconnected pieces and intricate shapes may still be awkward to peel, handle or use.
For the distinction between a sticker cut through completely and one left on a larger backing sheet, see die-cut versus kiss-cut stickers.
How to make stickers without a printer
The simplest option is to draw directly onto full-sheet adhesive paper and cut the designs out.
You can also make a basic tape sticker:
- Draw your design on ordinary paper.
- Cut around it.
- Place a strip of clear packing tape sticky-side down on baking parchment or another non-stick backing.
- Put the drawing face-up on the tape.
- Cover it with a second strip of clear tape.
- Press the layers flat.
- Cut around the design, leaving a clear taped border.
- Peel it from the temporary backing when you want to use it.
The result is visibly homemade.
That is not always a criticism.
It works well for quick crafts, cards, folders and experiments. It is not the method to choose when you need a precise batch of identical stickers.
Where home-made stickers reach their limit
Home production can work very well. It simply has a few boundaries worth knowing before you discover them halfway through sheet number twelve.
The cutting
Scissors produce a hand-cut edge. A cutting machine improves the result, but it also adds setup, calibration and material testing.
If the shape is an important part of the design, professional contour cutting may be the more practical route.
You can see how that works on our custom die-cut sticker page.
The material
Standard paper label stock behaves like paper.
It may be perfectly suitable for a notebook, envelope or folder. Moisture, friction and frequent handling are different jobs.
Printable vinyl and laminate can improve what you can make at home, but compatibility varies. Do not assume that one layer of clear film makes every combination suitable for every surface.
A home printer can produce good results, but colour, alignment and cutting may vary between sheets.
That may not matter for ten personal stickers. It matters more when the stickers are being sold, packed into customer orders or used together as part of one brand.
The time
Ten stickers may be relaxing.
Two hundred contain a lesson about the monetary value of your evening.
The cost of home production is not only paper and ink. It also includes setup, test prints, failed sheets, cutting, cleaning and the time spent pretending the last thirty are still fun.
The finish
Some finishes and material effects are not practical to reproduce with a standard home printer.
Having them printed
Start with the best file you have: vector for logos and type, a high-resolution raster for illustration and photography. If the original still exists, use it instead of the screenshot. Which format suits what is covered in the file format guide, and soft or pixelated files has its own.
Then pick the size for the object rather than the artboard. A laptop, a notebook and a bottle want three different answers. Print it at actual size and hold it against the thing it’s meant for.
Upload in the editor, choose material, size and quantity, and look at the preview properly before ordering. Check the cut line, the background, and anything small. This is the step where the slogan turns out to be unreadable, which is better found here than in the box.
There’s no minimum, so a first order can be one sticker.
When the material is part of the design rather than merely the surface underneath it, compare the available sticker materials and finishes before choosing the production route.
The test before either method
Before making a full batch at home or ordering one, print the design on ordinary paper at its intended size.
Cut it out and place it on the object.
Then check:
- Does the main idea read immediately?
- Is the text large enough?
- Does the silhouette still make sense?
- Is the design fighting with the object underneath it?
- Would you genuinely put it there?
A design can be technically printable and still not work as a sticker.
That is useful information to discover on copier paper.
Our recommendation
Make a home prototype when:
- You already have the printer and materials
- You want a quick personal batch
- The handmade result is part of the charm
- You are still testing the size or concept
- The sticker will be used in a dry, low-wear setting
Have it professionally printed when:
- You want clean, repeatable contour cutting
- You need more than you want to cut yourself
- The batch needs to look consistent
- The design uses a specialised material or finish
- The sticker is for customers, products, events or a finished creative release
- You want to test one physical piece without setting up home production
There is no prize for cutting two hundred stickers simply to prove that you could.
We already checked.
Frequently asked questions
What do I need to make stickers at home?
You need artwork, printable sticker paper or full-sheet adhesive labels, a compatible inkjet or laser printer and something to cut with. Scissors are enough for simple shapes. A craft knife or cutting machine gives you more control.
Can I make stickers with a normal printer?
Yes. Both inkjet and laser printers can be used, but the sticker paper must be made for your printer type. Some printable materials are inkjet-only, while others are designed specifically for laser printers.
Do I need a Cricut to make stickers?
No. You can cut simple designs with scissors or a craft knife.
A Cricut, Silhouette or similar machine becomes useful when you want repeated contour cuts, sticker sheets or shapes that would be slow to cut by hand.
What kind of paper should I use?
Use printable sticker paper, printable adhesive vinyl or full-sheet labels made for your printer.
Choose the stock according to where the sticker will be used. Standard paper sheets are best kept to dry indoor projects unless the manufacturer states otherwise.
Are homemade stickers waterproof?
Not automatically.
Ordinary printable paper is not waterproof. Printable vinyl, suitable ink and a compatible laminate may improve moisture resistance, but the finished result depends on the complete material system. Test one before using it somewhere exposed to water or heavy wear.
Can I make stickers without a printer?
Yes. Draw directly onto adhesive paper, or use the clear-tape craft method described above. The result will look handmade, which may be exactly what the project needs.
Is it cheaper to make stickers yourself?
It can be for a very small batch when you already own the printer and tools.
Once you include ink, sticker stock, test sheets, laminate, blades and your time, the comparison becomes less simple. Home production is often best for prototyping and personal projects rather than automatically being the cheapest route at every quantity.
What size should I make my stickers?
Choose the size for the object and viewing distance.
Print the design on ordinary paper at 100%, cut it out and place it on the intended surface. If the text or main idea does not read naturally, revise the design before producing the sticker.
What file format should I use when ordering?
Use AI, EPS or a vector PDF for logos, text and clean graphics. Use a high-resolution PNG for illustration and transparent backgrounds, or a high-resolution JPG or TIFF for photography and image-based artwork.
Can I order only one custom sticker?
Yes. PrettyGoodStickers has no minimum order, so you can order one test sticker, a small batch or a larger quantity.
Ready to see the design as a real sticker? Upload your artwork in the editor, or compare the current custom-sticker options
 Staff
Staff