

How to make stickers to sell
To make stickers to sell, finish the design at the size it will print, have it printed once real orders start, check a single sticker before you order the batch, and price from the full cost of an order. Printing at home is fine for testing a design. It stops making sense around the time you have more orders than evenings.
We print custom stickers everyday, and there’s no minimum order, so a first run can be a single sticker. The steps below work the same with any printer.
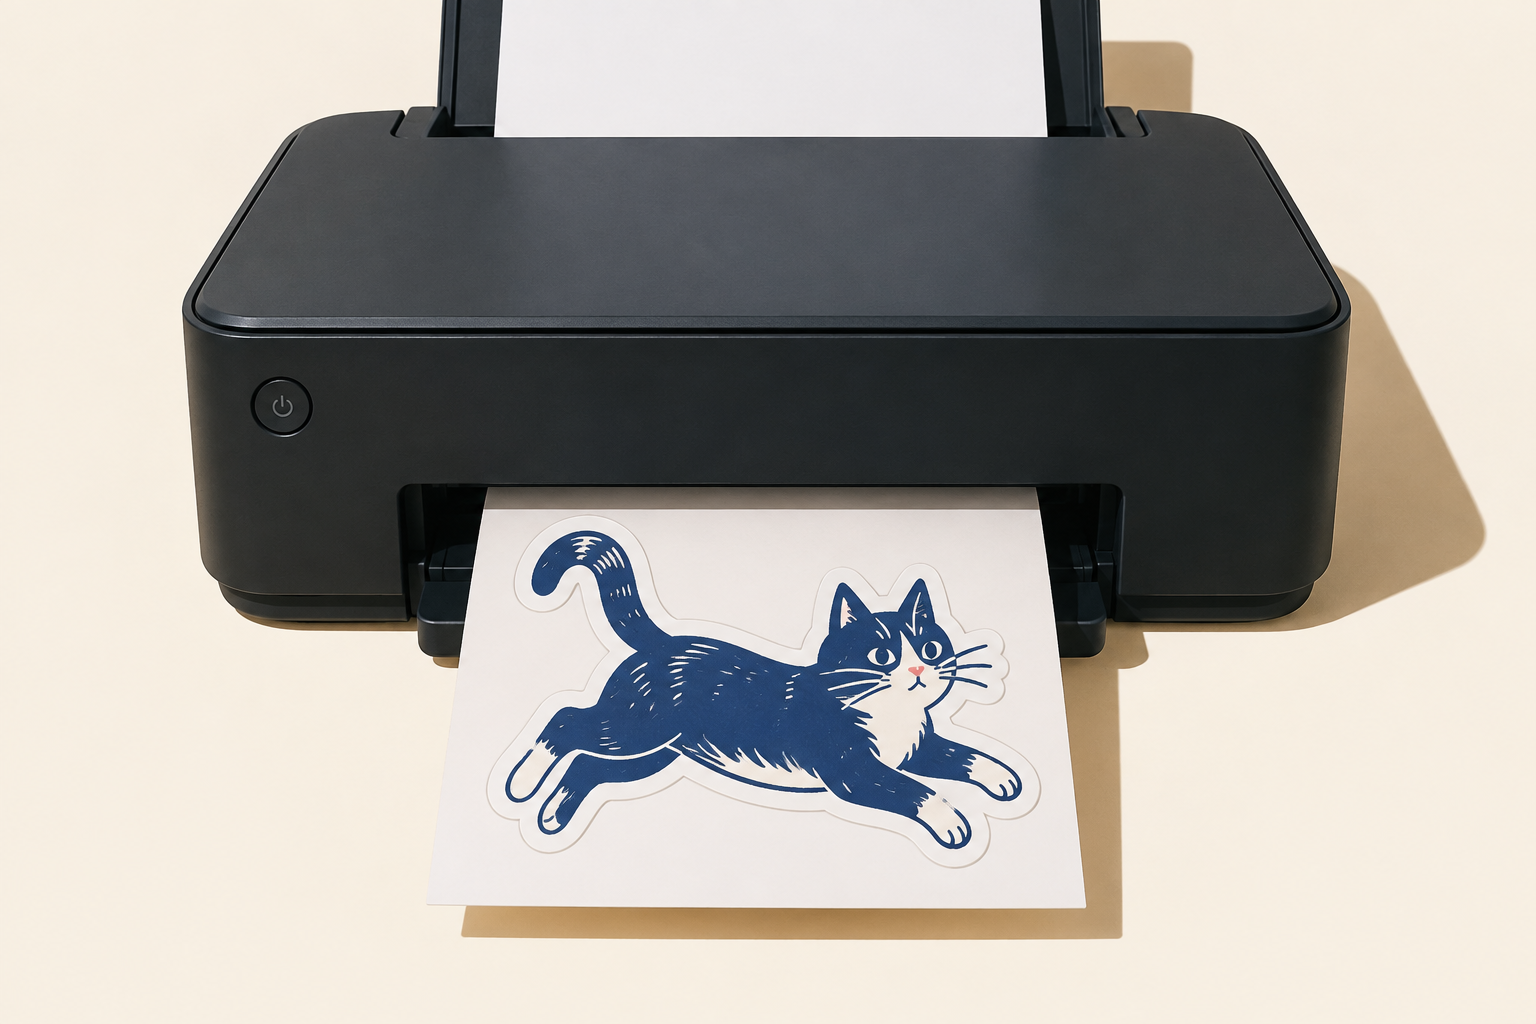
Print at home, order prints or print on demand?
Print at home while you test a design on friends. Order prints once strangers start paying, because buyers compare your sticker with the printed ones next to it in the same shop or envelope. Print on demand sits in between: a service prints and ships each order, so you hold no stock.
| Factor | Print at home | Order prints | Print on demand |
|---|---|---|---|
| Best for | Testing a design, a handful of copies | Selling and restocking designs that sell | Listing many designs without holding stock |
| Upfront cost | Printer, sticker paper or printable vinyl, laminate, cutting tools | One order, from a single sticker | None |
| Your time per order | Print, laminate and cut every sheet | Pack and post | None |
| Margin per sticker | Your price minus ink, paper and spoiled sheets | Your price minus your print cost | Smaller, because the service takes its share for printing and shipping |
| Control | What your printer and cutter can handle | Material, size and cut, checked in a preview | The service’s materials and cuts |
| Stock for a market table | Only what you’ve had time to cut | Yes | No |
Our guide to making your own stickers covers the home method: printers, paper and cutting. For selling, a workable line: once you spend more time cutting stickers than drawing them, order prints. Print on demand suits testing lots of designs online, but each sale earns less and you have nothing to put on a market table.
What you need
- A design. Procreate, Illustrator and Canva all work.
- A file to upload: PNG, JPG, TIFF, AI, PDF or EPS. We recommend a PNG with a transparent background, or a vector file for logos and text.
- A way to print it: at home, through a print shop, or with a print-on-demand service.
Step 1: Design at the size it will print
Decide the size before you draw. We recommend about 300 pixels per inch at the printed size, so a 3-inch sticker needs about 900 × 900 pixels. A file that looks crisp on your phone can be half that, because phones are generous with small images.
Where the file comes from changes what to check:
- Procreate: set the canvas to the sticker size at 300 DPI when you create it. Scaling a small canvas up later doesn’t add detail.
- Canva: download a PNG with the transparent background option switched on. Without it, the design gets printed inside a white or colored box. The option isn’t on Canva’s free plan; there, remove the background with another tool before you upload.
- A photo of a drawing on paper: scan it, or shoot it flat in daylight, then remove the background before you export. Paper texture and shadows print exactly as photographed.
- A screenshot of an Instagram post: Instagram stores photos at no more than 1,080 pixels wide, so a screenshot is a 3-inch file at best. Export the original from the app you drew it in.
Check the details at actual size. Thin lines and small text disappear first, and a design that needs a caption to make sense is hard to sell from across a table.
The quickest test is to print the design on plain paper at 100% scale and hold it at arm’s length. If it looks soft or busy on paper, it will look the same on vinyl.
Step 2: Pick the cut, size and finish
Choose the format by how you plan to sell it.
| Format | How it’s cut | Sell it as |
|---|---|---|
| Die-cut | Through the sticker and the backing, along the shape of the design | Single stickers, which is what most buyers expect from one design |
| Kiss-cut | Through the sticker only, so the backing stays whole | Singles that are easy to peel and hand out |
| Sticker sheet | Several kiss-cut designs on one backing | Themed sets, popular with planner and journal buyers |
We print die-cut stickers, so a set from us comes as a pack of singles.
For a single sticker, 3 inches is a safe default: big enough to read on a laptop lid, small enough for a water bottle. Our closest standard size is 8 × 8 cm.
Matte and glossy are rated the same for durability on our stickers, so choose by look. Glossy is shiny and makes colors look deeper. Matte photographs without glare, which helps when the listing photo is all a buyer sees. Holographic suits bold shapes; fine linework gets lost in the shine.
Step 3: Upload it and check the preview
Our editor shows the finished sticker on screen before you pay, and warns you if the file is too small for the size you picked. Look at the preview at actual size, the way a buyer would see it on a table:
- A white box around the design means the background wasn’t transparent.
- Soft or stepped edges usually mean the file is too small for the size.
- Details sitting right at the edge of the shape end up close to the cut line.
- Text that read fine on your screen may not read at 3 inches.
If something looks off and you can’t tell why, email support before you order. A question before the order costs nothing. After the order, the fix is a reprint.
Step 4: Order one sticker, then the first batch
There is no minimum order, so order a single sticker of each design first. Stick it on a bottle or a laptop and look at it in daylight. Screens are lit from behind and stickers aren’t, so colors can shift slightly between the two.
Then order for the next sale you can actually see: one market table, one drop, the first weeks of a listing. A design that sells can be reordered from the same file. A design that doesn’t is cheaper as ten stickers than as five hundred.
What we’d do with a first design
Die-cut, about 3 inches, matte, one copy. Matte because the listing photo is often the first time a buyer sees the sticker, and glare is what usually ruins it. Then order enough for one market weekend or one month of listings, not for the year you’re hoping to have.
Keep the paper test print from step 1 on the wall for a week. If you’ve stopped liking it by Friday, that’s a box of stickers you didn’t buy.
How to price stickers
Price from the cost of a whole order. For every order, add up:
- printing, per sticker, at the quantity you ordered
- the envelope, a stiffener and any bag
- postage
- platform and payment fees
- any free sticker you add to the order
Platform fees hit small orders hardest, because part of them is fixed. On Etsy in the US, each sale carries a $0.20 listing fee, a 6.5% transaction fee on the item price plus shipping, and a payment processing fee of 3% + $0.25. Here is what that does to two example orders (example prices, before sales tax):
| Etsy fees, US | One sticker | Pack of three |
|---|---|---|
| Item price | $4.50 | $10.50 |
| Shipping charged | $1.50 | $1.50 |
| Listing fee | $0.20 | $0.20 |
| Transaction fee (6.5%) | $0.39 | $0.78 |
| Payment processing (3% + $0.25) | $0.43 | $0.61 |
| Total Etsy fees | $1.02 (17% of the order) | $1.59 (13% of the order) |
The fixed $0.45 is the same on both orders, and so are the envelope and the postage. That is why packs keep more of each dollar than singles. Set the single-sticker price so it covers its own envelope, and if a sale comes through Etsy’s Offsite Ads, count another 15% of that order.
Where to sell your stickers
| Channel | Good for | Watch out for |
|---|---|---|
| Etsy and other marketplaces | Buyers already searching for stickers | Per-order fees, and many shops selling similar designs |
| Your own shop | Control over prices, bundles and how the brand looks | You bring every visitor yourself |
| Markets and conventions | People buying several designs at once, with no postage | You need stock on the table and a way to take cards |
| Social media | Showing a design being drawn, printed and packed | Orders still need somewhere to happen |
Start with one channel where you can take orders and one where people can find you.
Mistakes that cost first-time sellers money
- Ordering hundreds of a design nobody has bought yet. With no minimum order, a small first run costs less than a box of leftovers.
- Pricing from the print cost alone. Fees, envelope and postage can cost more than the sticker itself.
- Selling designs you don’t own. Characters from games, anime and shows, brand logos and other people’s photos need the rights holder’s permission, and marketplaces can remove listings when a rights holder reports them.
- Text and linework too fine to read at sticker size.
FAQ
Is selling stickers profitable?
It can be, once the price covers the whole order. Run the pricing table above with your own print cost and postage. If a single sticker only breaks even, sell it in packs or set a minimum order value.
What kind of stickers sell best?
Stickers made for a specific crowd. A design that means something to one group, like a hobby or a local in-joke, is easier to sell than a nice design aimed at everyone. A clear silhouette helps too, because it reads from across a market table.
How many stickers should I order to start?
One per design, then enough for the next sale you can see. Reorders come from the same file, so there’s little reason to guess big on the first run.
Can I make stickers to sell at home?
Yes, in small numbers. You need a printer, printable sticker paper or vinyl, and scissors or a cutting machine. It gets slow as orders grow, since every sheet has to be printed and cut by hand.
Can I sell stickers of characters from games, anime or shows?
Not without permission from whoever owns them. Fan art of a licensed character is still the owner’s character, and marketplaces can remove those listings when the owner reports them.
Ready with a design?
Upload it and look at the preview before you pay anything. Make die-cut stickers
Not sure which file to export? Start with What file type should I upload for stickers?
 Staff
Staff